
Welcome back, everyone! Today, I’m excited to guide you through creating your own AI models in Krea. Let’s dive in!
Firstly, in Krea’s home screen at krea.ai, you’ll find the starting point for setting up your AI training.
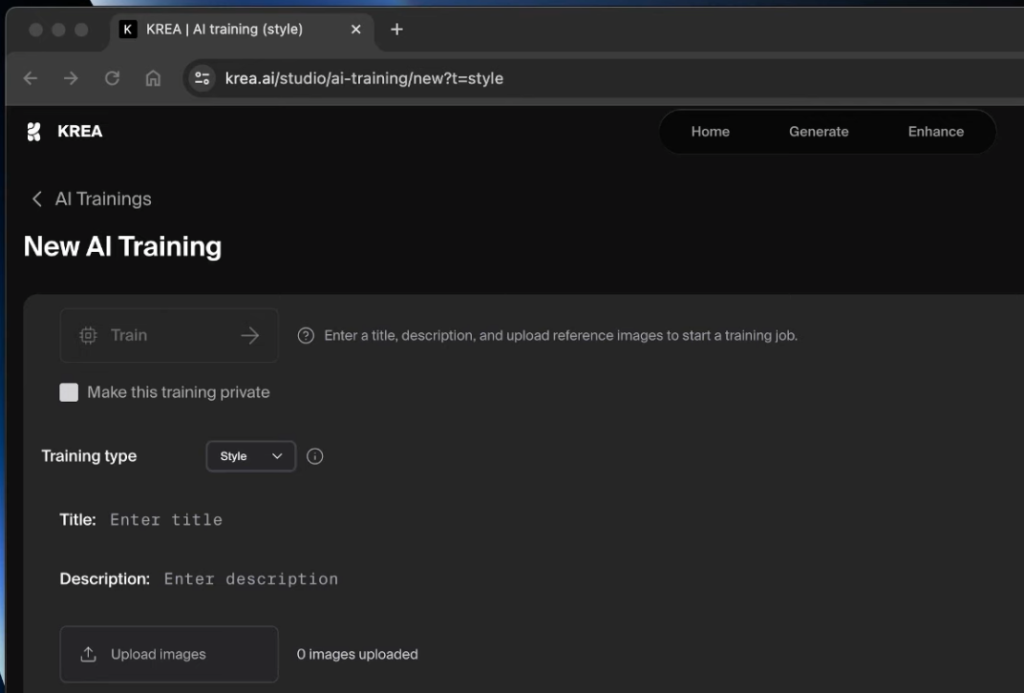
Upon clicking it, a screen appears where you have the option to make your training private. This feature is especially useful for those who prefer to train AI models in solitude and is available to paid members.
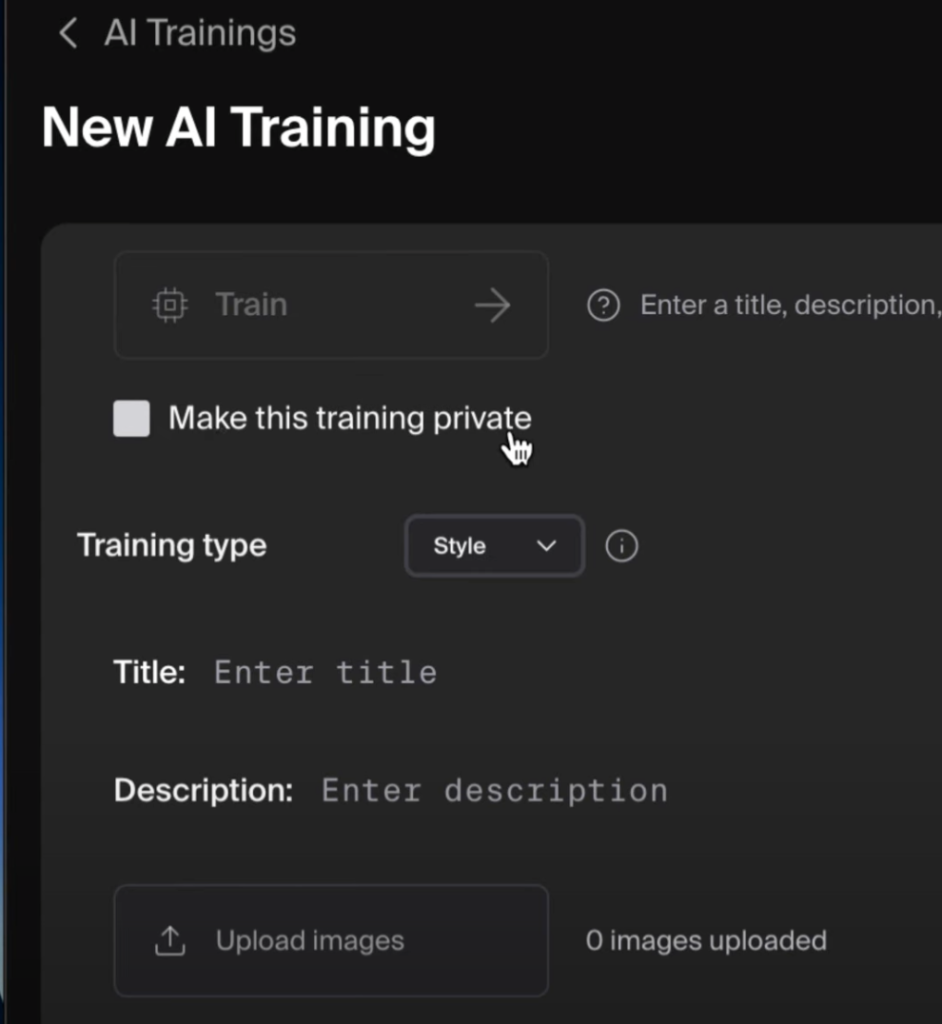
Krea offers three types of training. The first is style-based, perfect for creating anything from cyberpunk visuals to illustrations. When creating a personal model, upload as many photos as possible. Imagine writing a prompt like “a boy playing basketball,” and using your model to see your own face in the output – it’s a popular choice!

For object training, say you’re in vehicle sales, this is ideal. Standard models may lack the specific background of your product. By feeding Krea numerous images, the AI learns and generates unique, tailored images of the product you’re selling.
The process involves naming your project and adding a description. The most crucial step is uploading images for AI training. If it’s a personal model, remember to get consent for using others’ images, or upload plenty of your own photos for more accuracy.
After waiting a few hours, you’ll find your model in the Krea Studio Projects, indicating the completion of your training.
And that’s it! You now have your very own AI model in Krea. Stay tuned for more exciting updates, and see you next time!
Read related articles: