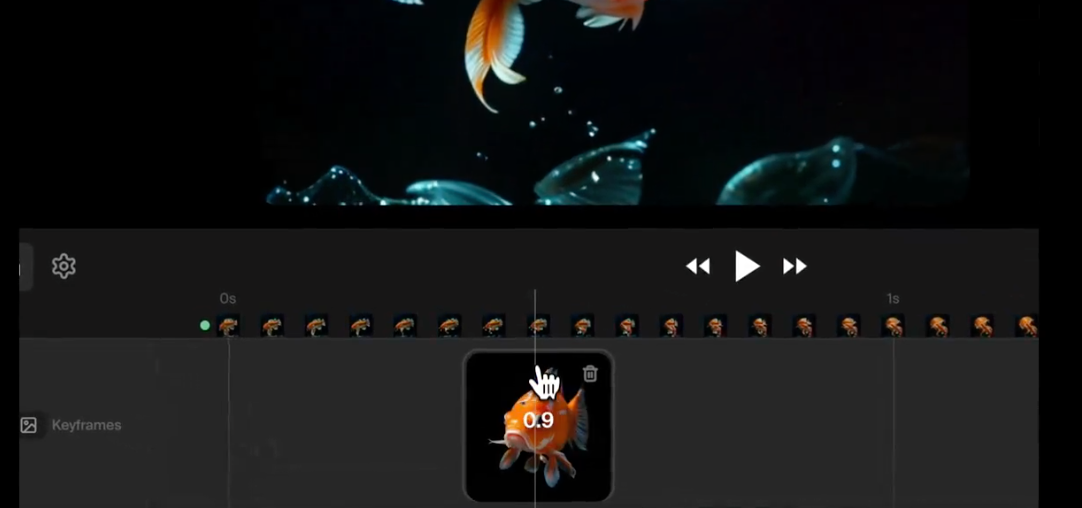
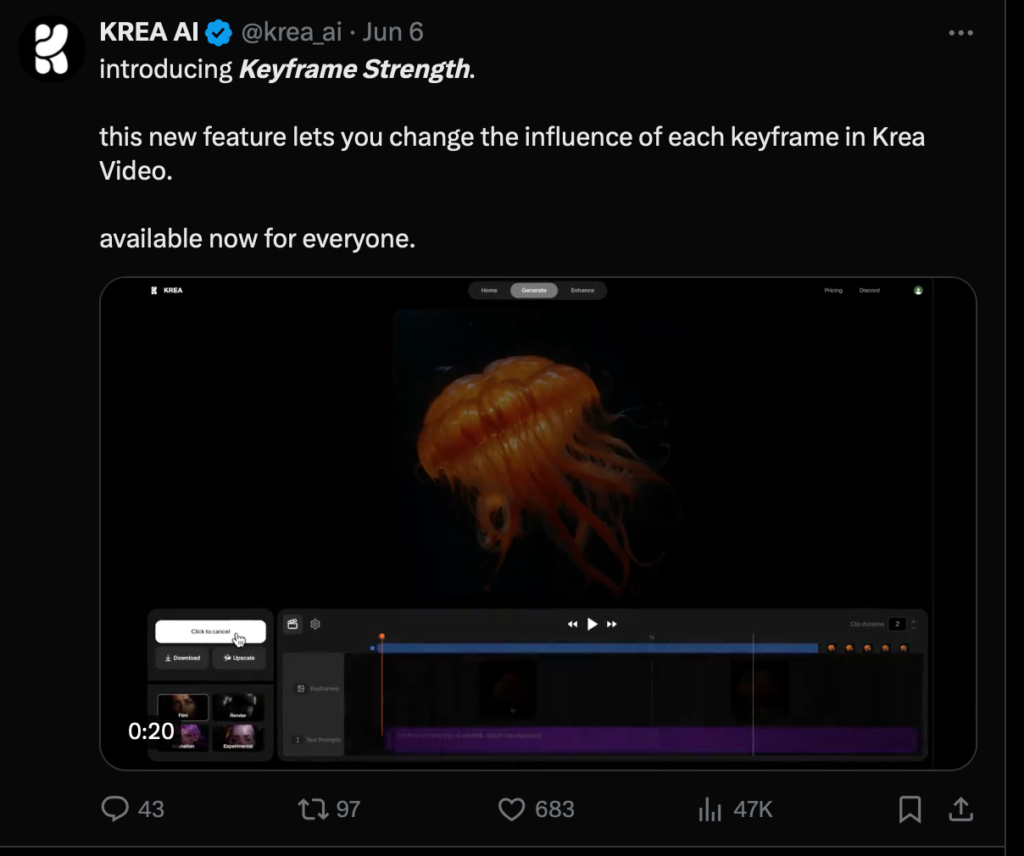
I’ve got a brand new AI video tool to show you, and it’s creating stunning videos just like this. There are two reasons why I’m particularly excited about Krea AI. First of all, it’s available right now, it doesn’t work inside of Discord, and you get a free amount of credits every day, which equates to around about 10 videos. Beyond that, Krea has a revolutionary method that allows us to stipulate the exact keyframes we want our AI video to hit, giving us complete control of where our video starts, where it goes, and where it ends up.
Keyframe Control and Video Creation
Krea allows us to create awesome aging videos and much more by giving precise control over keyframes.
The tool handles lighting particularly well, maintains consistency of characters through clips, and allows for seamless transitions between diverse images.
For instance, it is possible to insert images from any tool into Krea, such as photos from RenderNet or personal photos.
Examples and Use Cases
Let me show you some of the awesome videos I’ve made with Krea. Here, we have a beautiful animation of an Asian lady created by Mika Fotografia, showcasing a real sense of dynamism. Another example features an individual walking through different scenarios, from a forest to an urban office, into a car park.
Krea excels in creating stylized montage scenes, like a trip into the mountains or a music video where waves transform into figures, crafting psychedelic-style videos with rhythm and euphoria.
Using Krea: A Step-by-Step Guide
Creating videos with Krea is straightforward. First, go to Krea.ai and access the Video AI Video Generation interface. Here, you can adjust clip duration, aspect ratio, motion intensity, and loop settings.

Adding keyframes involves stipulating images that Krea AI will animate between. You can generate images within Krea or upload your own. The tool offers different styles like animate, experimental, film, and render, each affecting the video uniquely.
Tips and Recommendations
Understanding the strengths and weaknesses of Krea is key to making the most out of it. For realistic, coherent videos, use the render mode. For maintaining closeness to original images, use the film mode. For more animated styles, opt for animation, and for wild, psychedelic visuals, try the experimental setting. Krea allows for creating longer clips by starting new videos with the last frame of previous ones, enabling the creation of infinitely long videos.
Krea is a fantastic tool for generating imaginative and visceral experiences from one shot to another. While it may animate objects and humans in ways that are not always natural, this can be a bonus for creating visually engaging and dreamlike sequences. The free plan offers three minutes of compute time daily, and the basic subscription at $10 a month provides two hours of compute time and access to all features. Find out more on Pricing page.
Krea’s live painting AI tool is another interesting feature, allowing real-time image generation as you draw on the canvas. This tool excels in creating psychedelic, trippy, and dreamlike sequences, and best of all, it has a free option you can try straight away. Let me know what you think of Krea in the comments below.
Read related articles: